
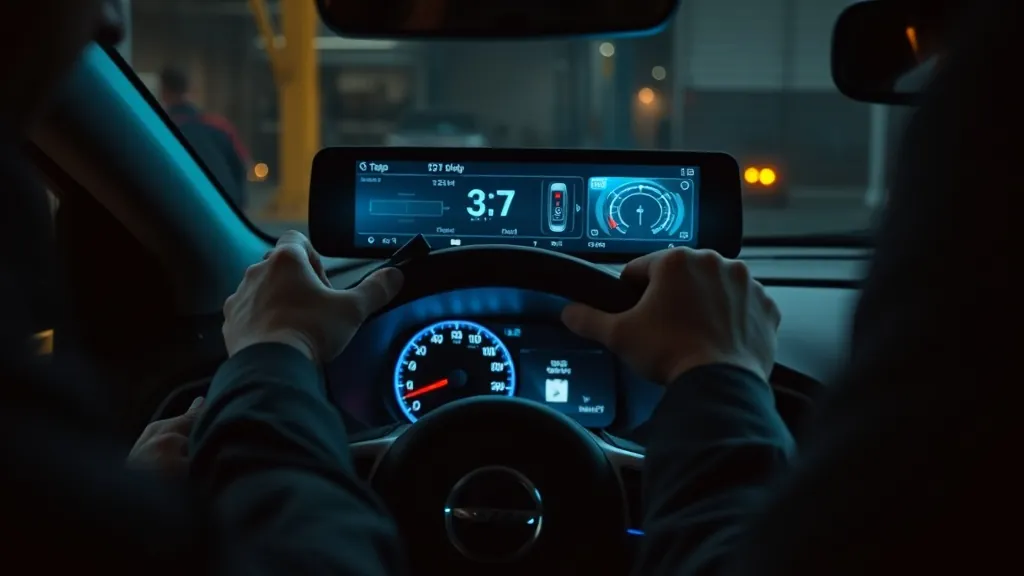
Installing a head-up display is one of the easiest car upgrades you can make. No tools, no wiring, no permanent changes. Here is the complete guide for both GPS and OBD2 HUDs.
Installing a GPS HUD (any vehicle, 3 minutes)
- Position the unit. Place it on the dashboard low and centred, directly in front of the steering wheel. It should sit below your normal line of sight so it does not block your view of the road.
- Apply the reflective film (windshield projection models only). Clean the windshield in the projection area and apply the supplied anti-glare film smoothly, pressing out any air bubbles with a card.
- Connect power. Plug the 12 V adapter into the cigarette lighter socket, or use the USB cable in a switched USB port. A switched power source (one that goes off with the ignition) is best to avoid a slow battery drain.
- Acquire GPS signal. Park outside and wait 30–60 seconds on first use for satellite lock. After the first lock, future starts are near-instant.
- Calibrate. Set your preferred speed unit (mph or km/h), set the overspeed alarm to your usual limit, and adjust brightness if your unit has manual control.
Installing an OBD2 HUD (1996+ cars, 5 minutes)
- Find the OBD2 port. Under the driver-side dashboard, within two feet of the steering column — a 16-pin trapezoid socket. Use the HUD Compatibility Checker if you cannot locate it.
- Connect the cable. Plug the OBD2 connector firmly into the port until it clicks.
- Route the cable. Tuck the cable along the A-pillar trim (the strip between the windshield and the door) up to the dash. Press it into the trim gap with a plastic pry tool or a credit card — no tools needed for most trims.
- Position the display. Place it on the dash below your line of sight, same as the GPS instructions above.
- Start the car. The HUD powers on with the ignition. Engine data appears within 5–10 seconds. Set your preferred displays and overspeed alarm.
Cable management tips
- Use adhesive cable clips (usually included) along the A-pillar to keep the cable tidy.
- Avoid routing cables across the driver’s foot well where they could catch on the pedals.
- A 90-degree OBD2 adapter keeps the connector flush under the dash if space is tight.
For the full OBD2-specific guide, see How to Install an OBD2 HUD in 5 Minutes.
As an Amazon Associate, HUDScreen earns from qualifying purchases. Pricing and availability are shown on Amazon and may change.
Frequently asked questions
Do I need any tools to install a head-up display?
No. Both GPS and OBD2 HUDs are true plug-and-play. The only optional step is using a plastic trim pry tool (or a credit card) to tuck the OBD2 cable into the A-pillar trim — and that is entirely optional.
Can I install a head-up display myself or do I need a mechanic?
You can absolutely install it yourself. A GPS HUD takes about 3 minutes; an OBD2 HUD takes about 5 minutes. No mechanical skills, no wiring, and no permanent changes to the car are required.
Where should I position a head-up display on the dashboard?
Low and centred, directly in front of the steering wheel and below your normal line of sight to the road. The image should appear in the lower third of your windshield — high enough to be in your peripheral vision, low enough that you do not have to shift your gaze to see it.